Добавил: The DSystem 2016-04-10 09:14:12 211 просмотров 
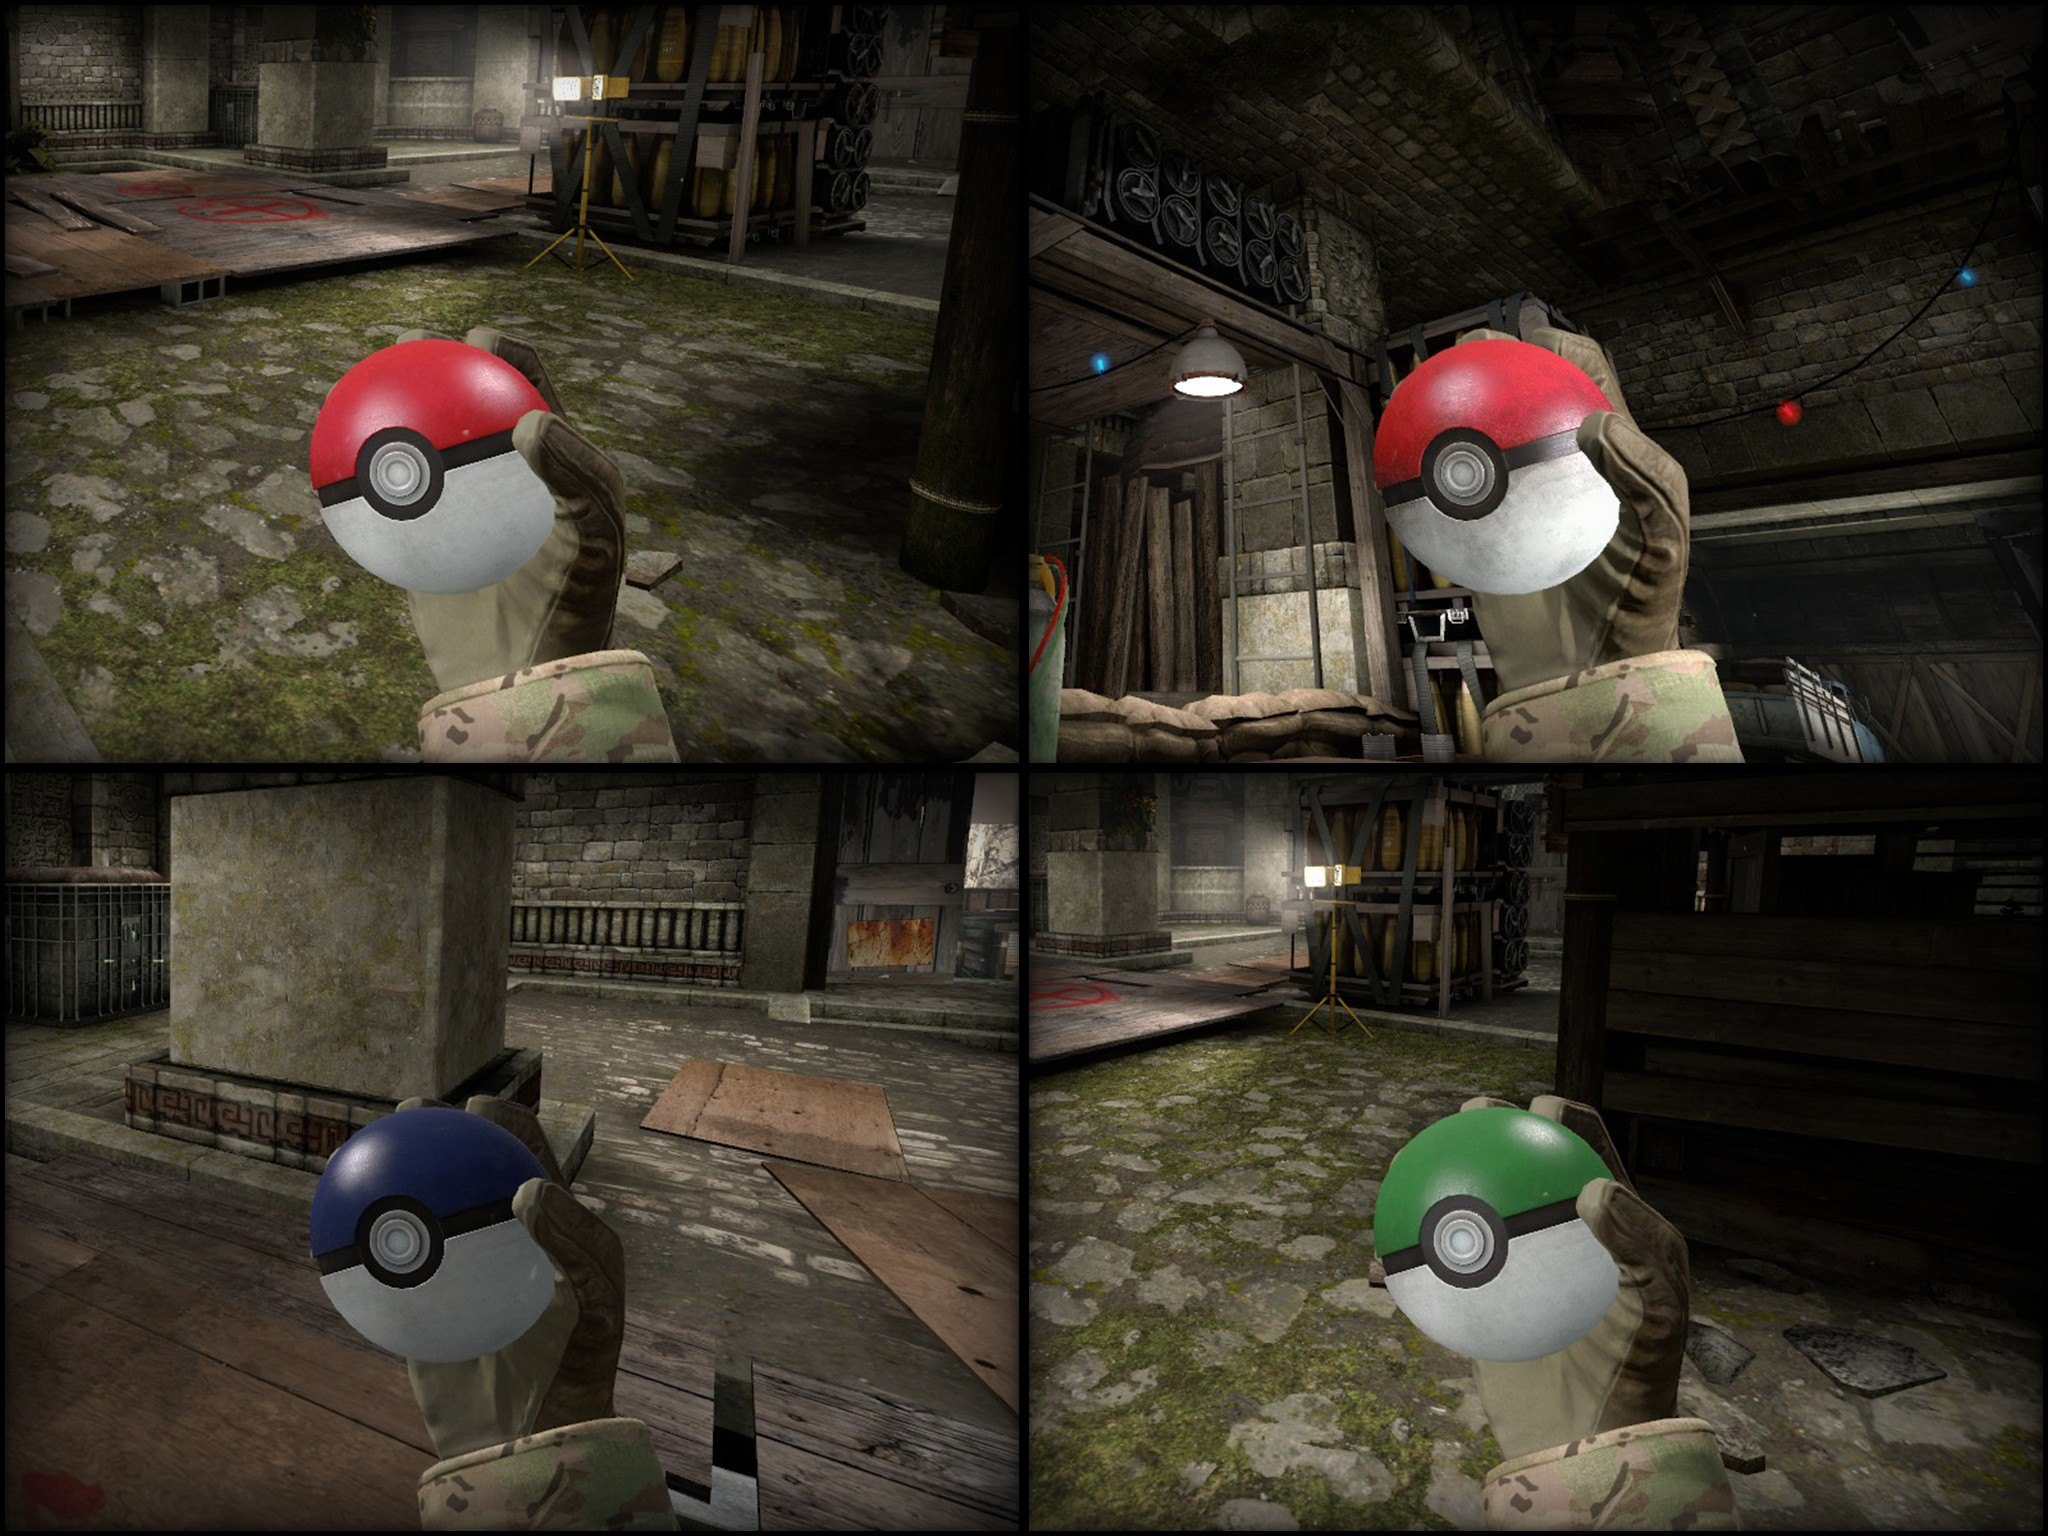
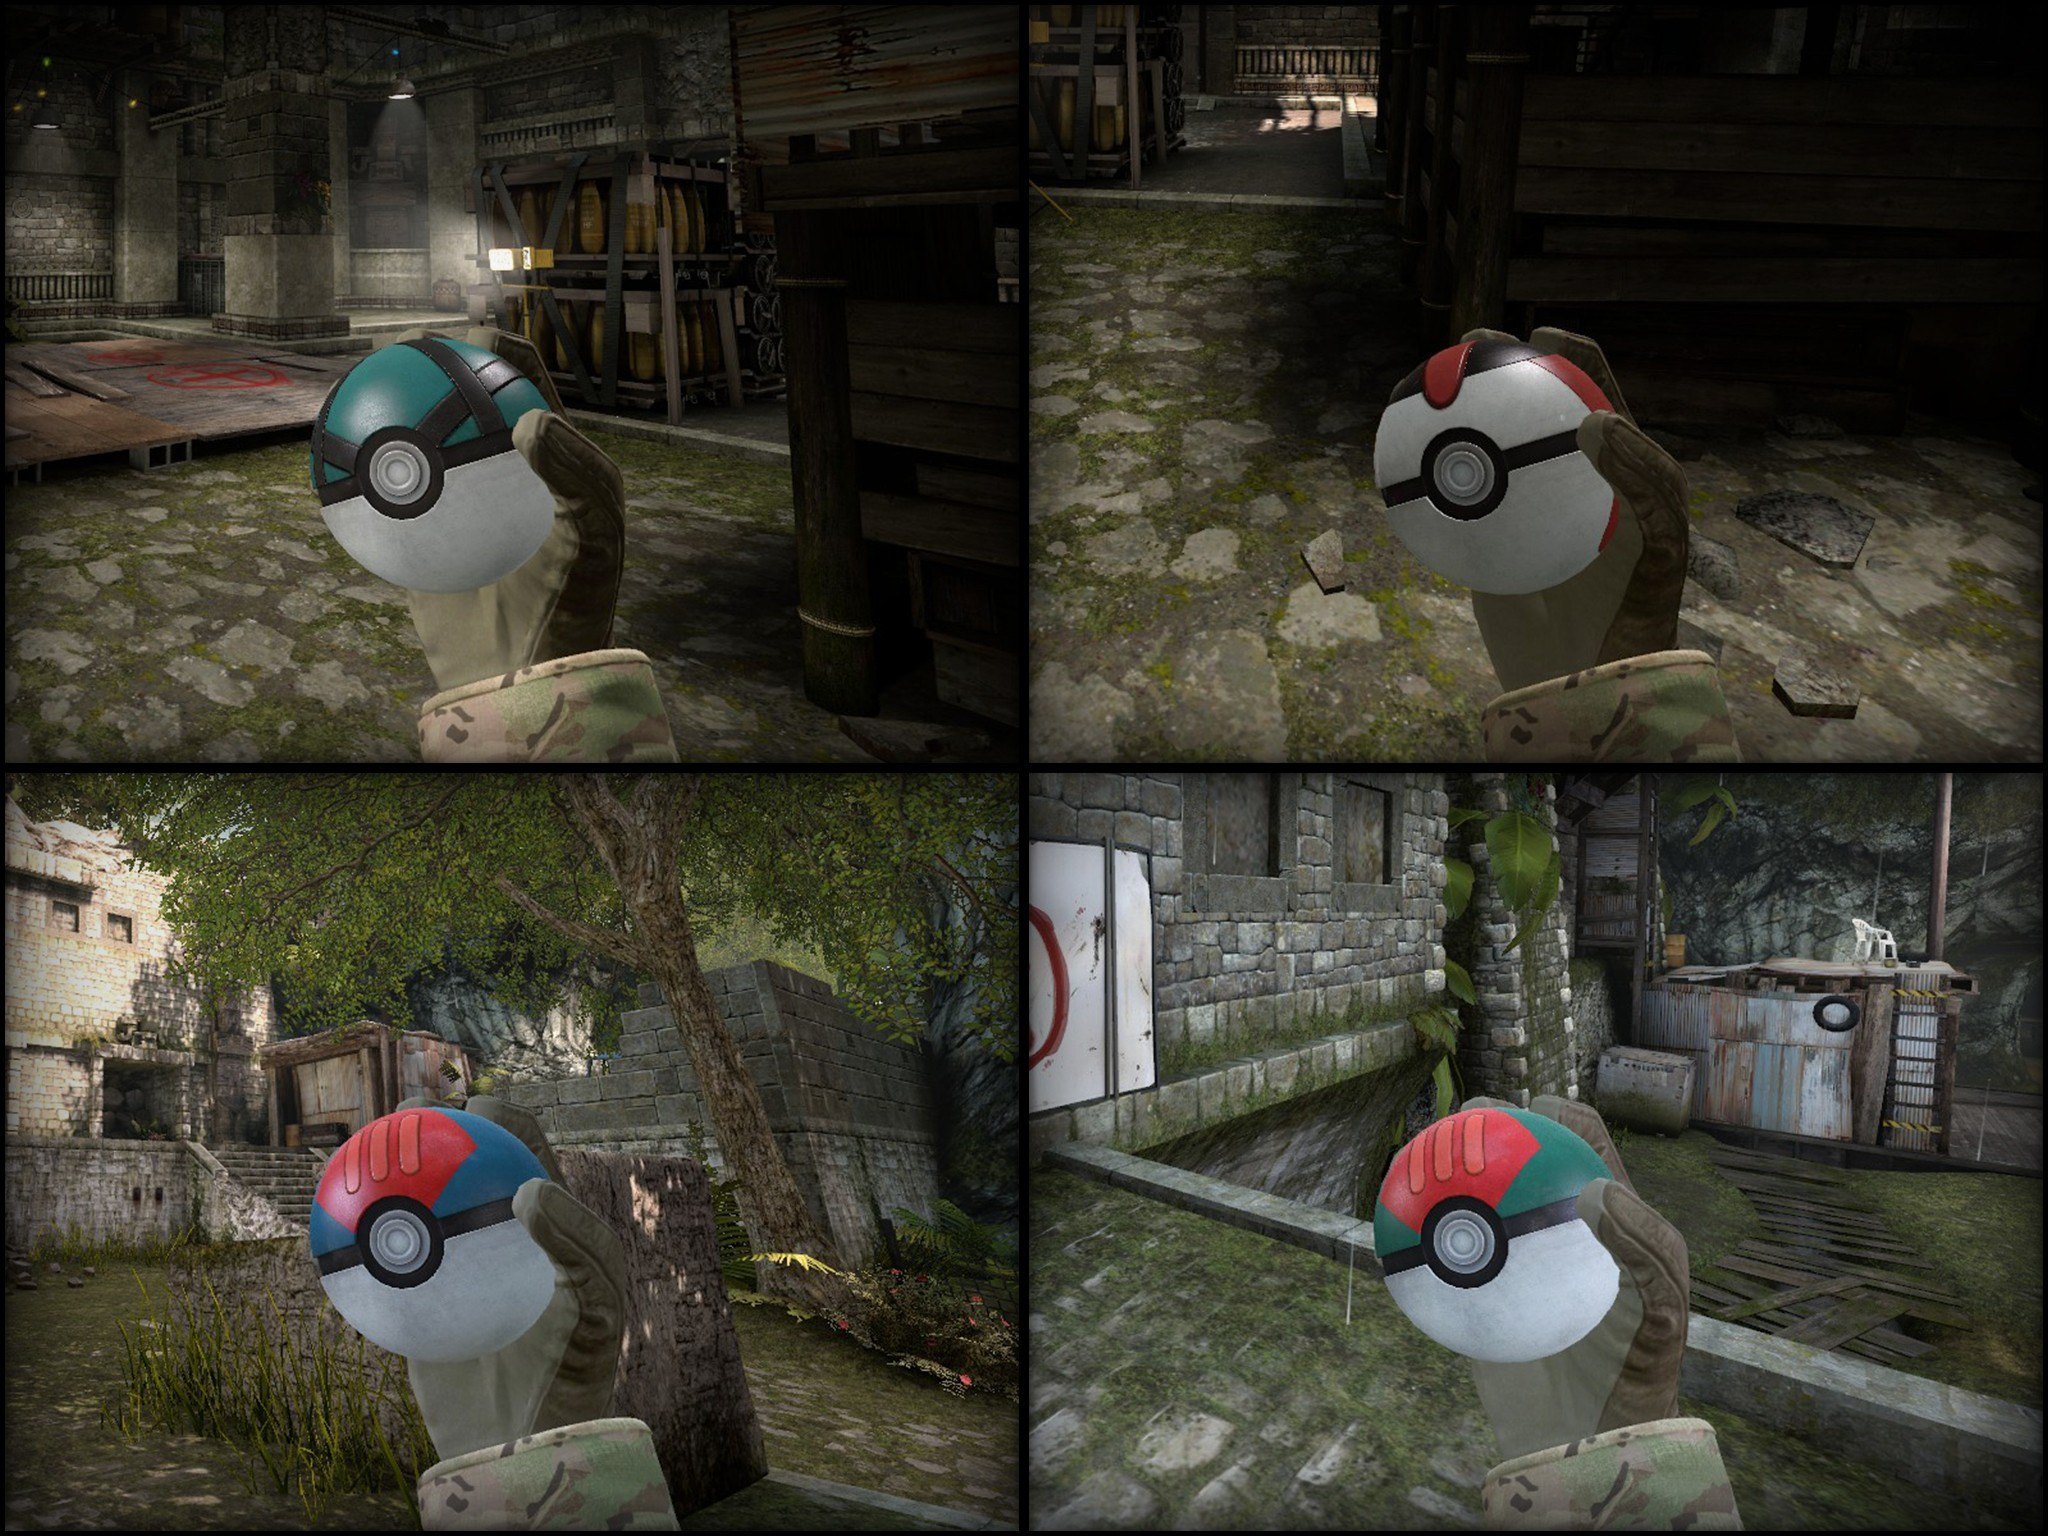
You've got to frag them all! These grenades in disguise are lovely to give as a gift to your friendly neighborhood terrorist! Play with it, juggle with it and even try to catch real living animals with it, but be aware these Pokeballs are real explosives after all!
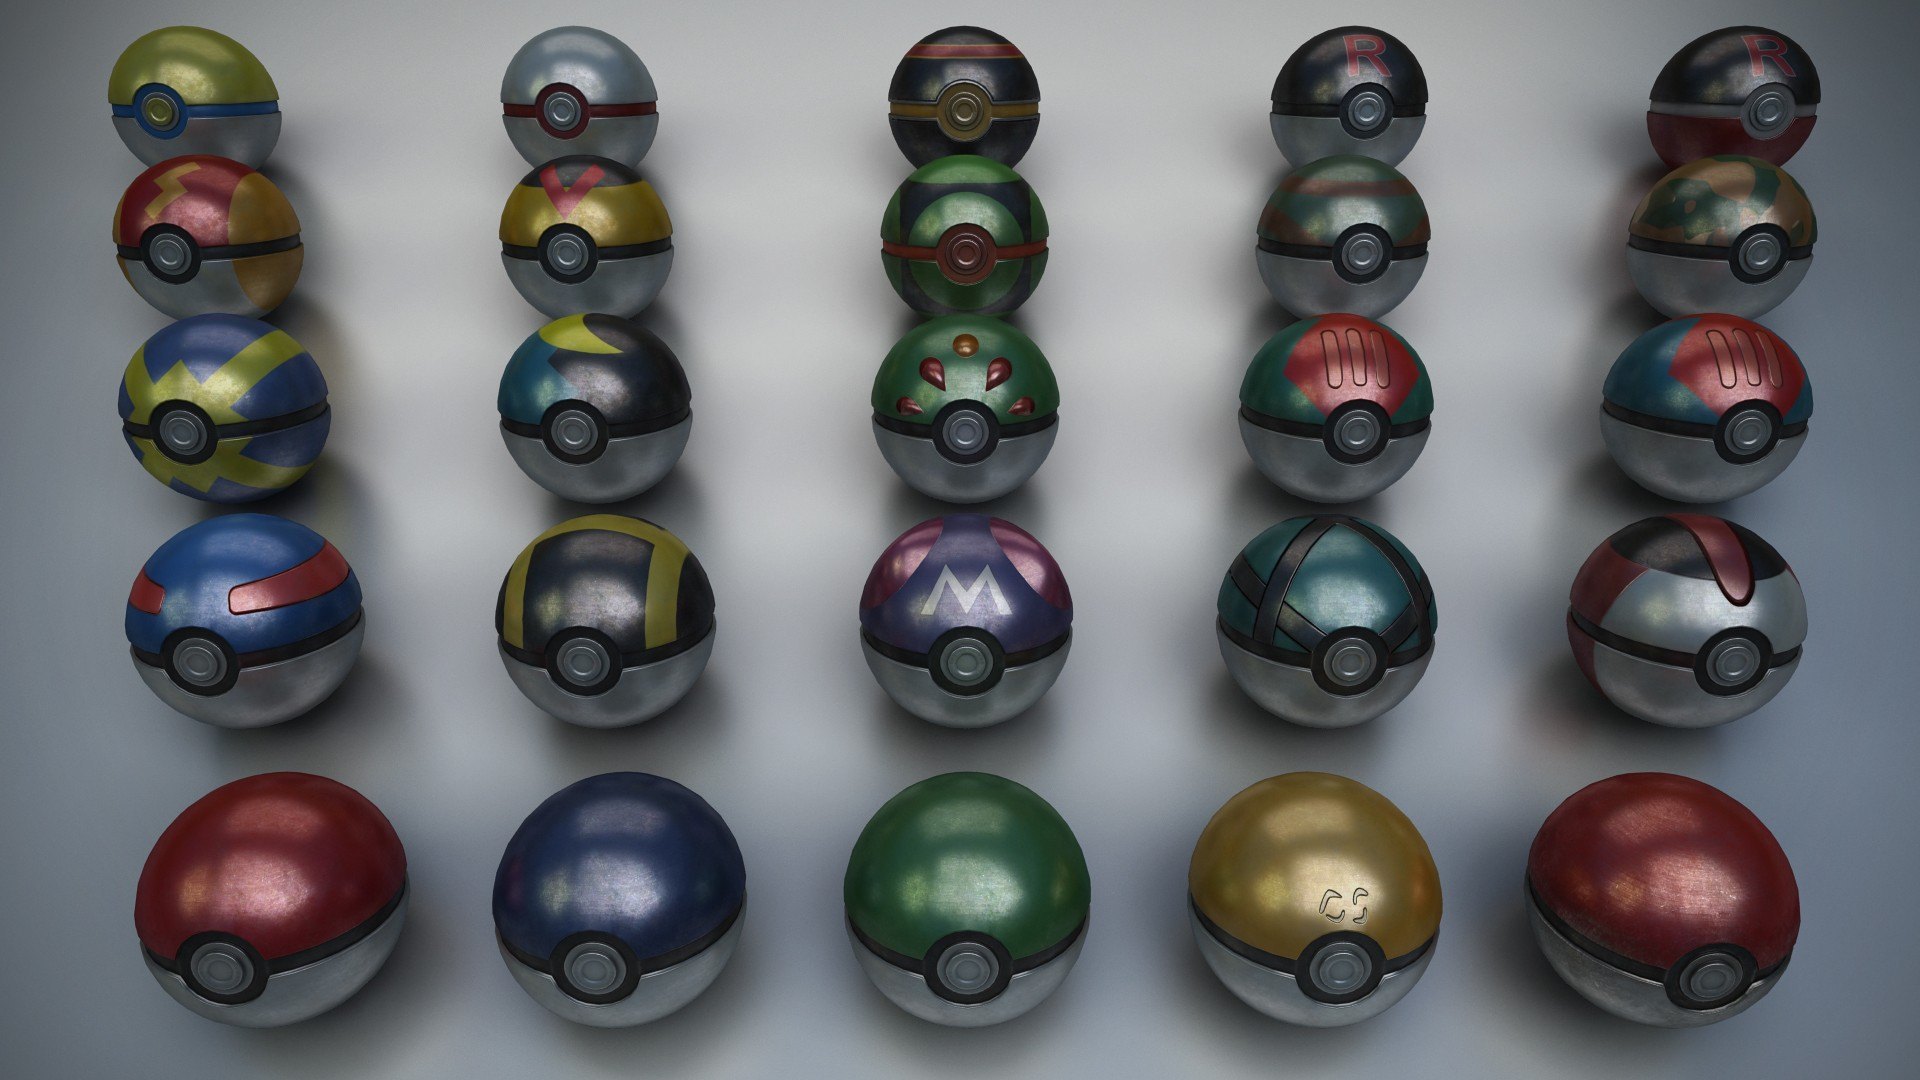
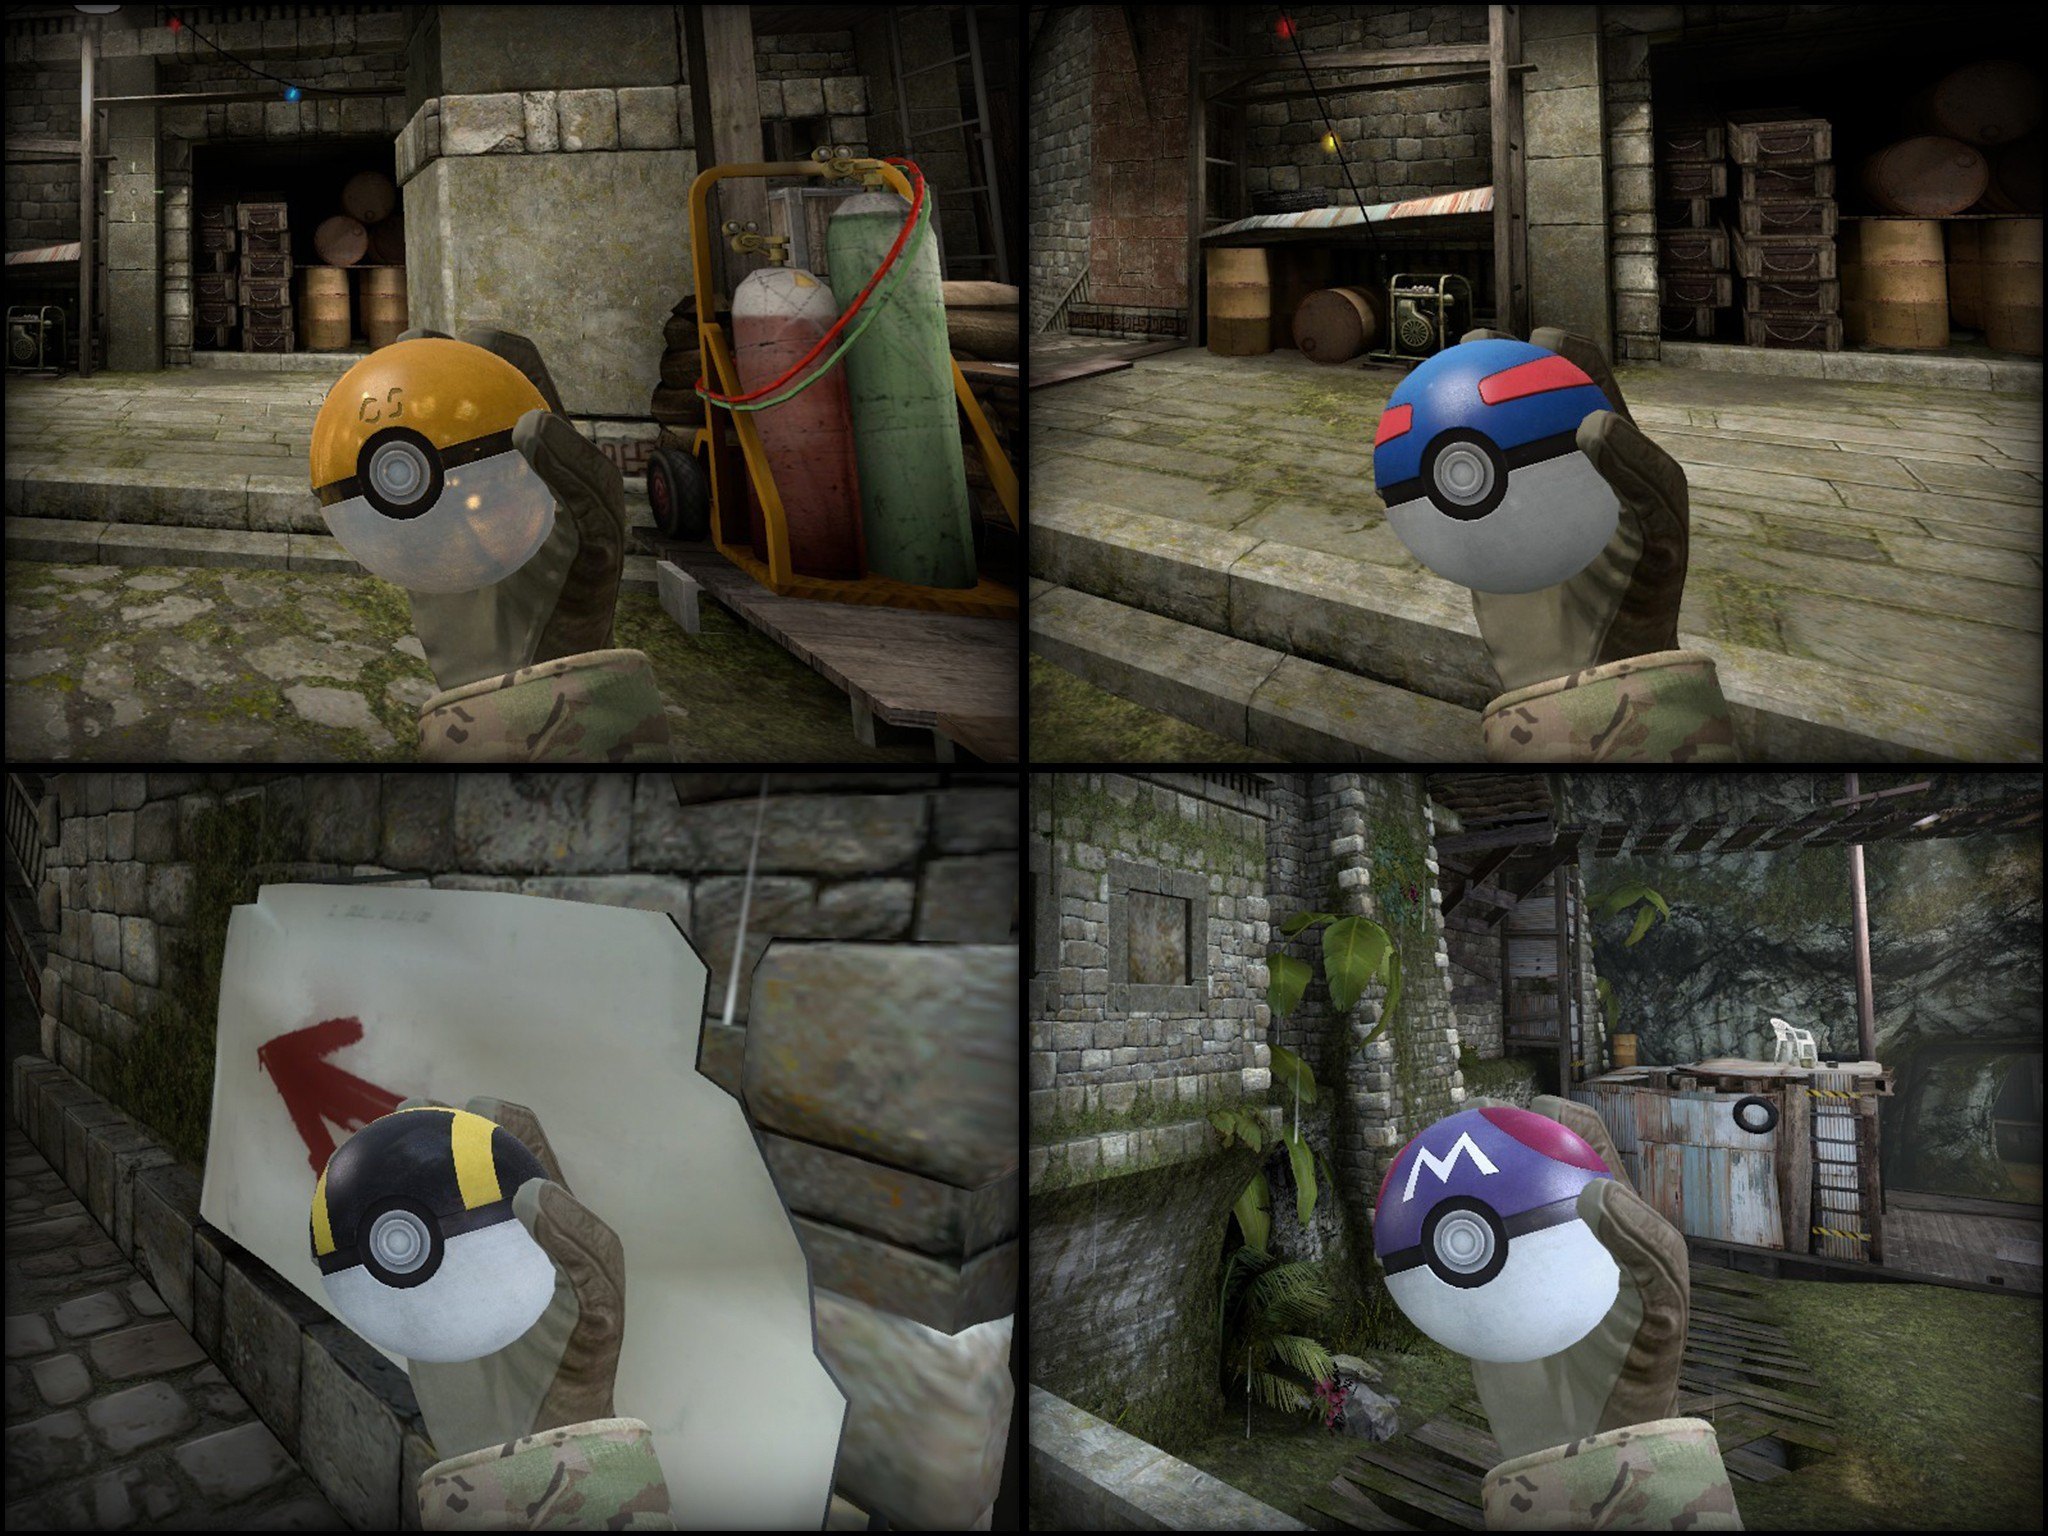
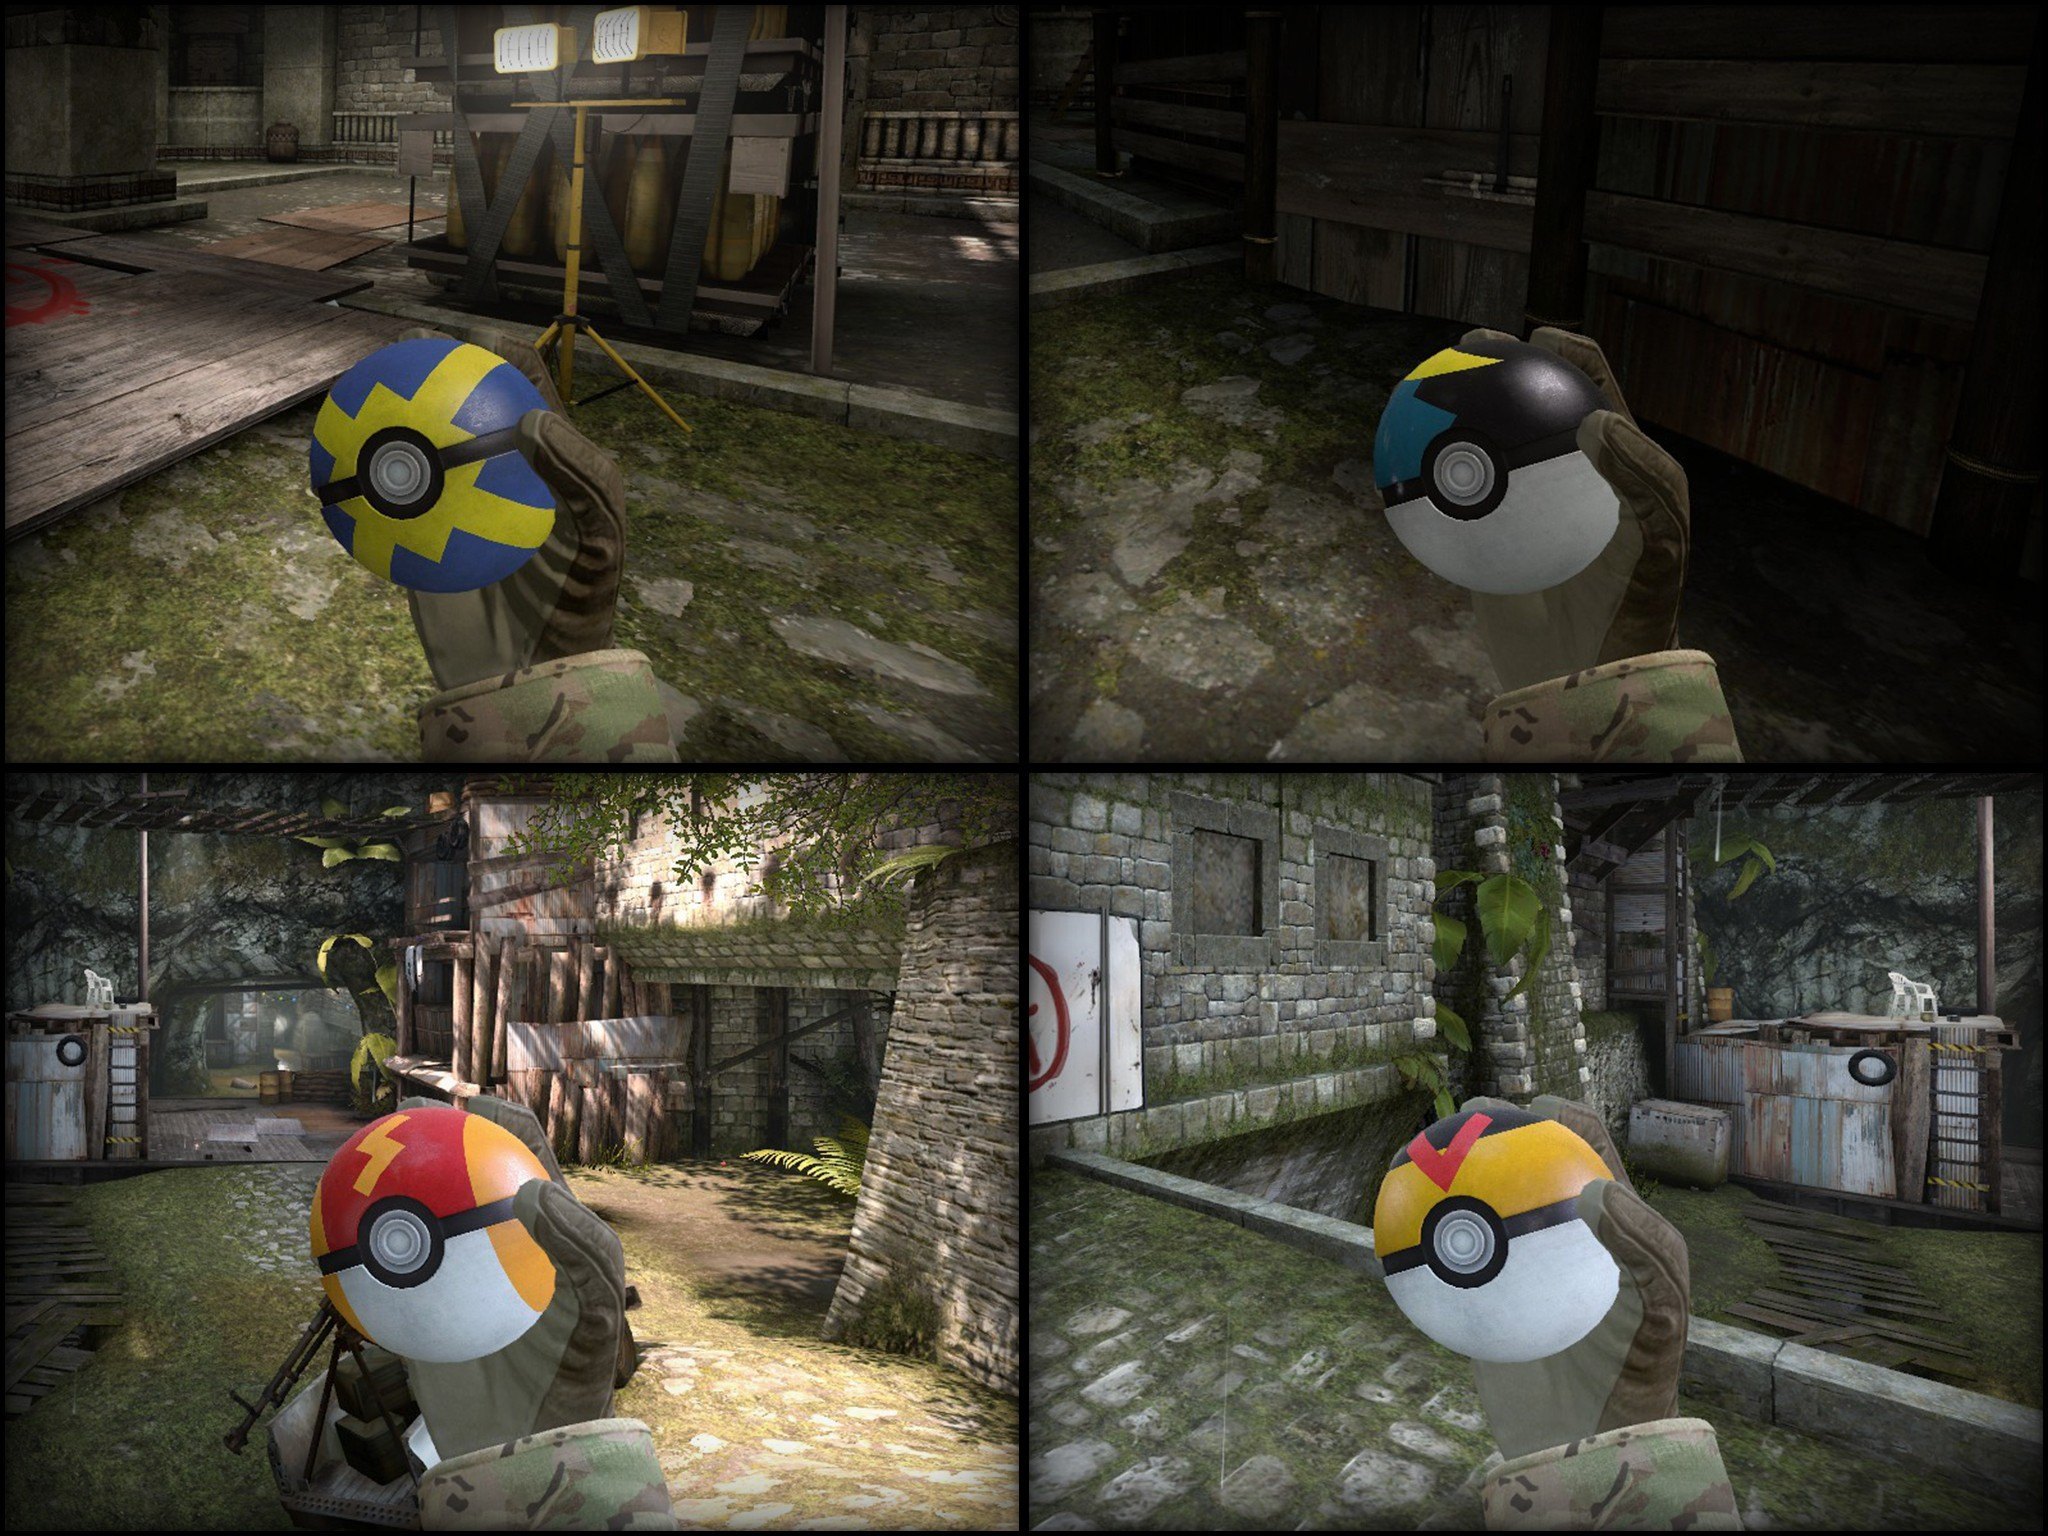
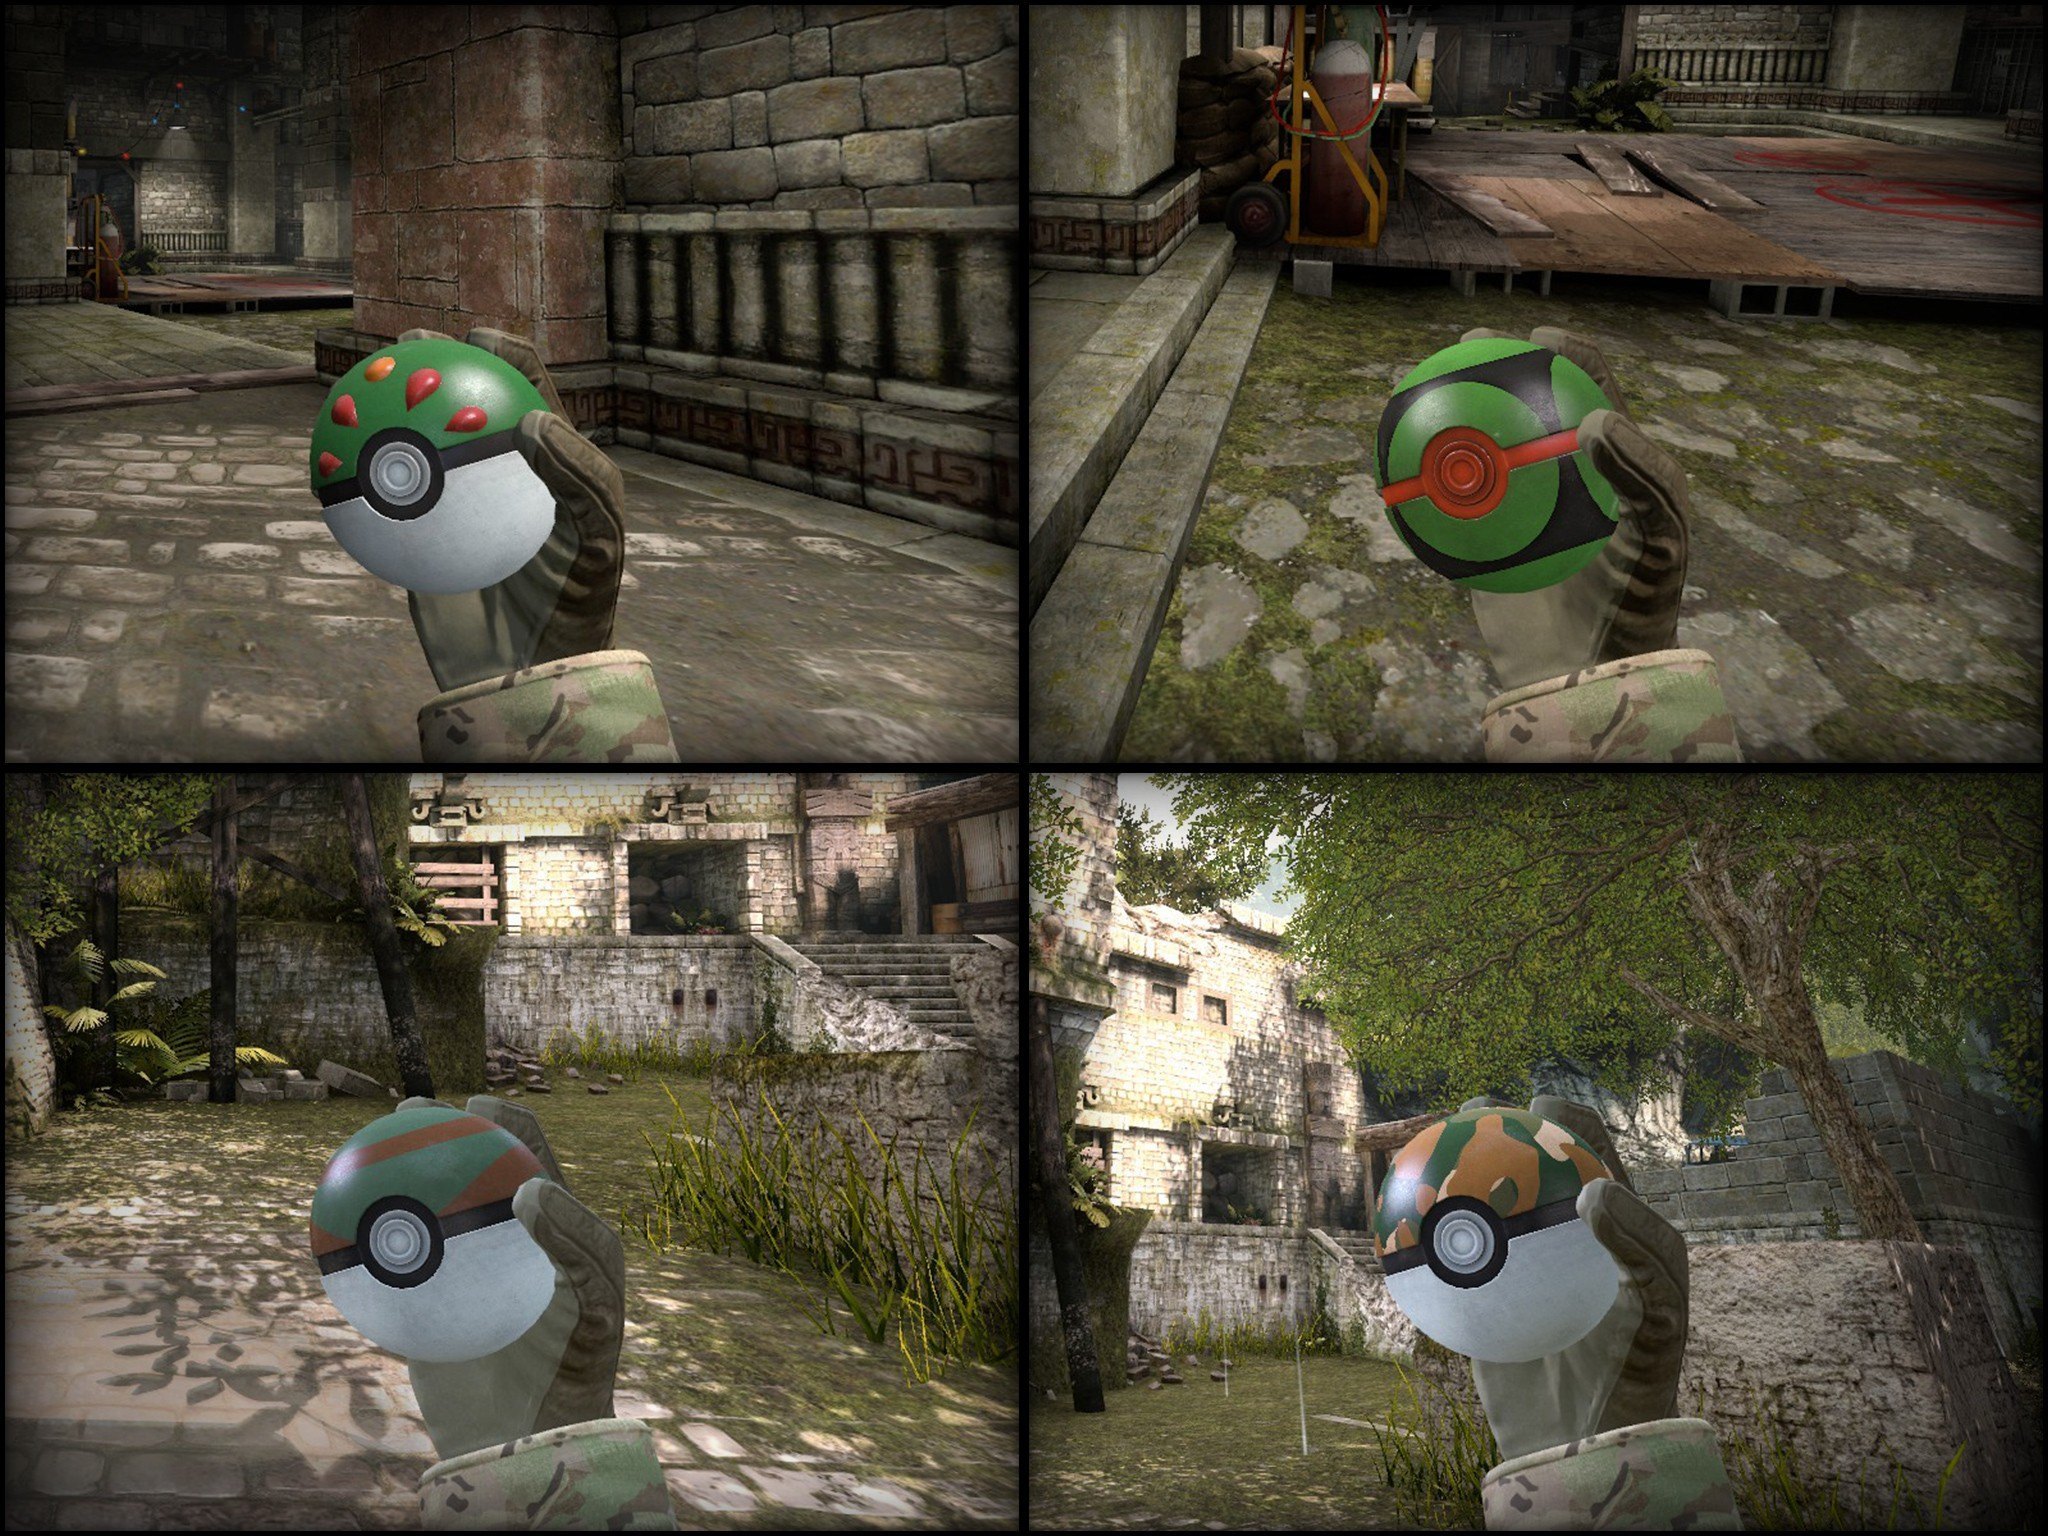
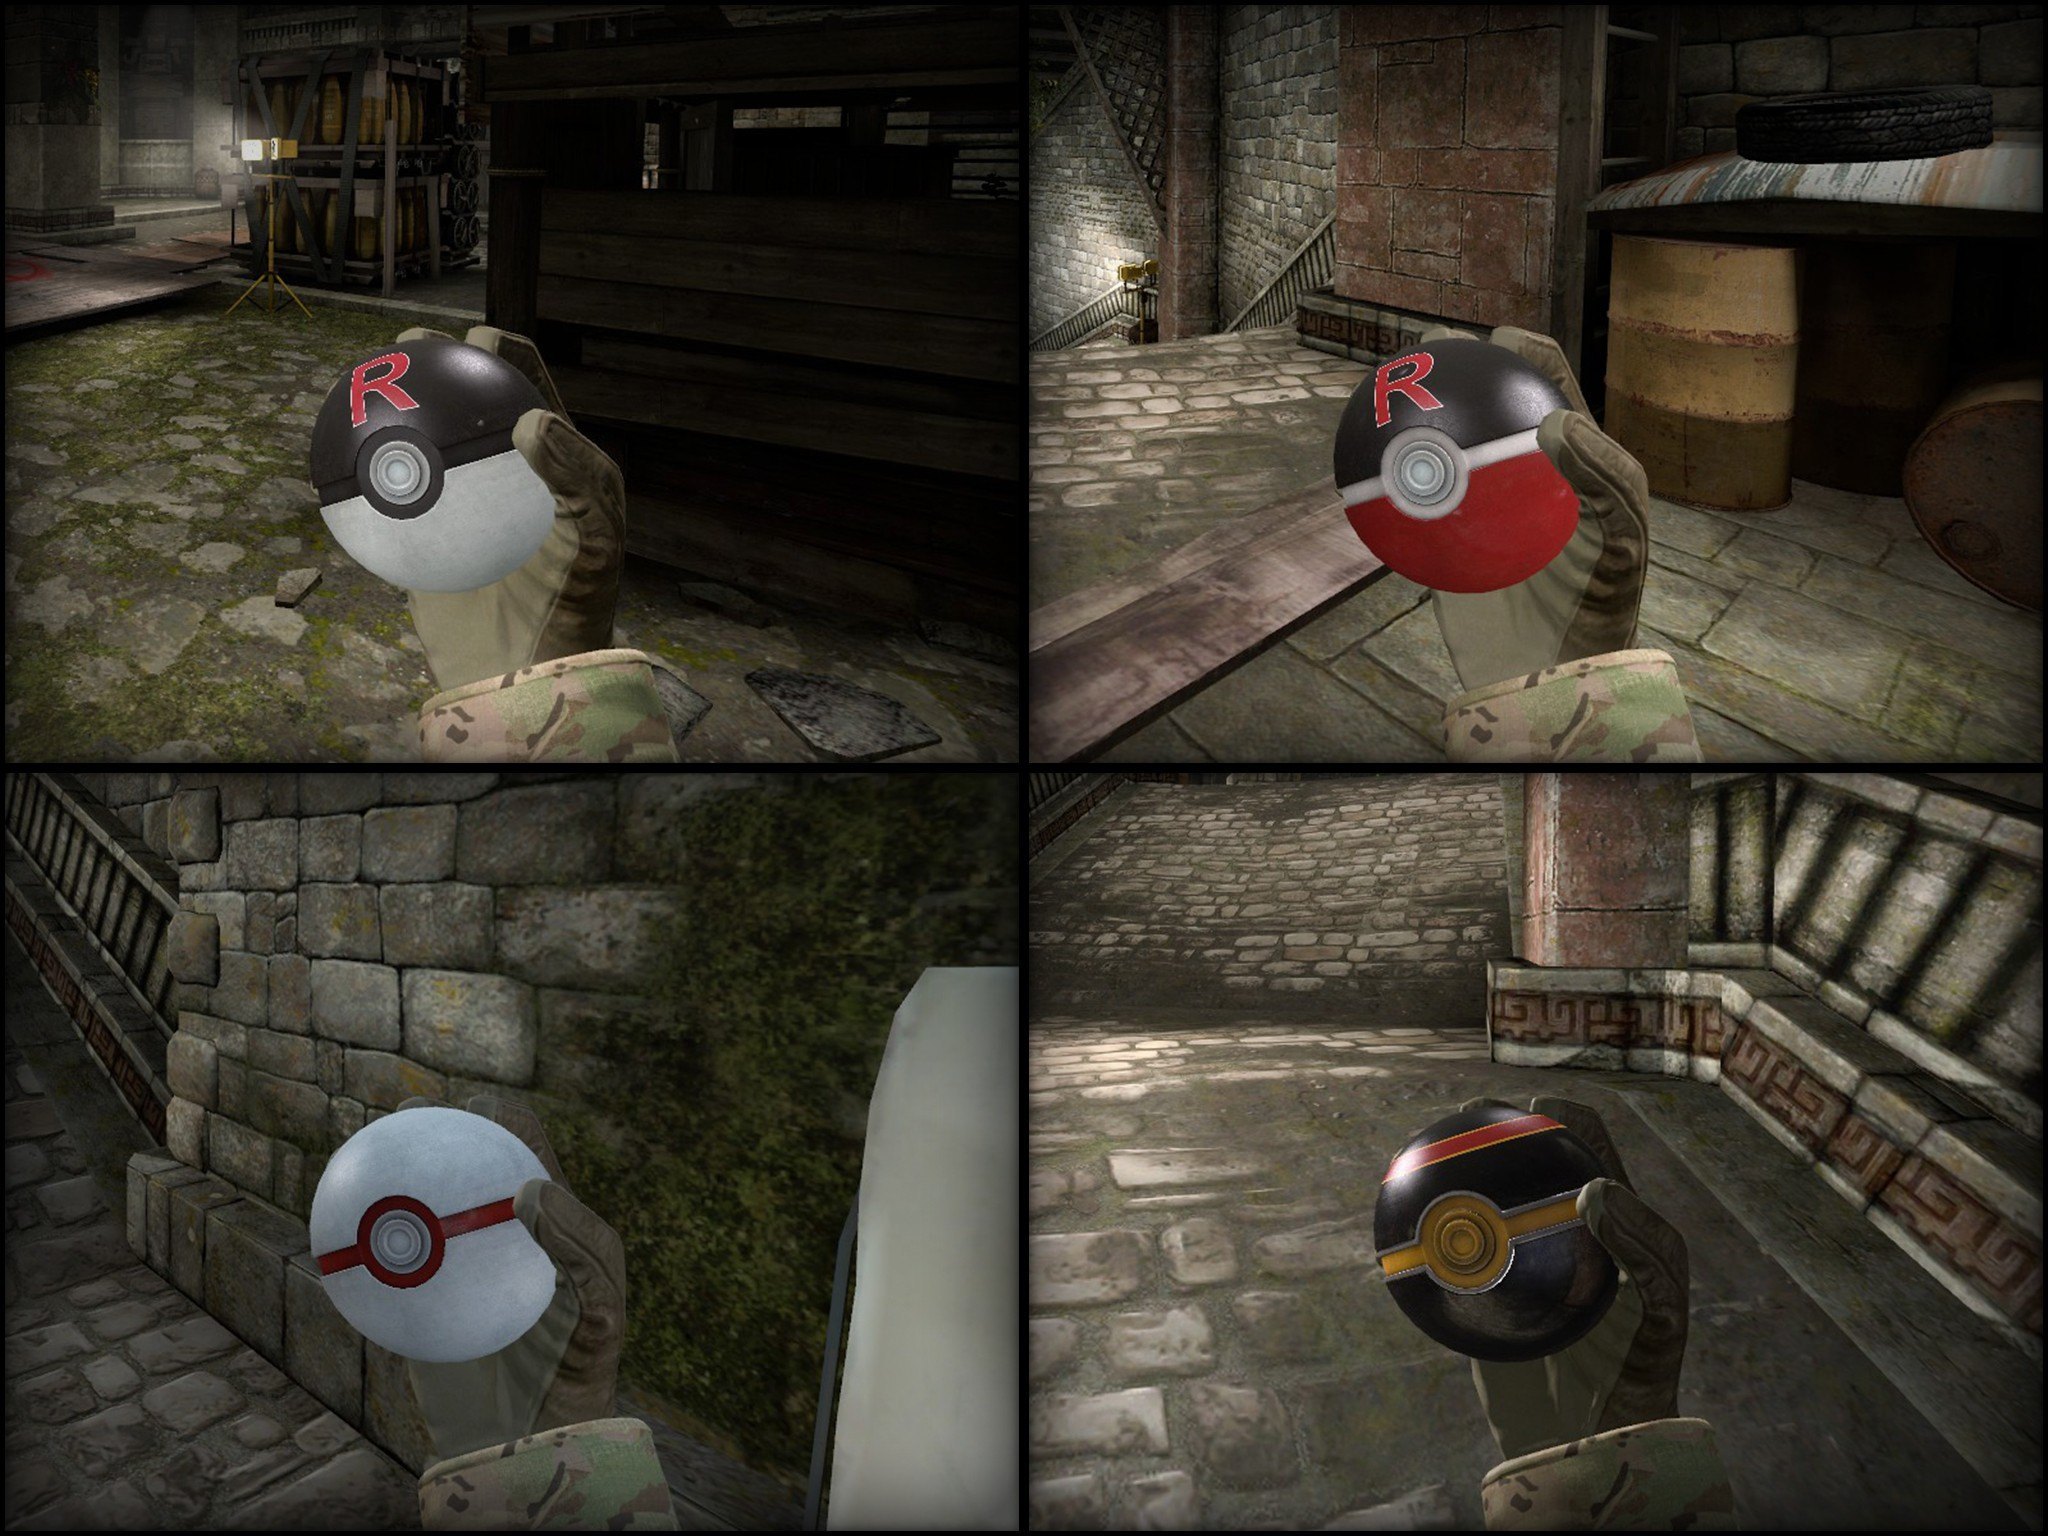
So try out these 25! Yes you heard it 25 different textures for the 5 Unique grenades found in Counter-Strike:Global Offensive!
Also available for Team Fortress 2!

- 25 different textures that you can choose out.
- 5 grenades are replaced (He, Flash, Smoke, Decoy, Incendiary)
- High Quality textures and shaders to fit CS:GO.
- World Models with shaders!
- Custom Sounds.


An easy way to install this skin is by using Unkn0wn's CSGO Skin Installation Tool found here. This tool will allow you to easily edit the VPK by just selecting the view, world and thrown models for the grenades included in this release and by then pressing install.
Although if you want to do it manually I'd suggest you to backup your pak01_dir.vpk first!
First copy the csgo folder extracted from the .rar and paste them inside:
"steamapps\common\Counter-Strike Global Offensive\csgo"
Now, backup your pak01_dir.vpk before moving on.
Then open the VPK called pak01_dir.vpk with a text editor. Hit ctrl+h and replace "v_eq_decoy" with "v_eq_dacoy" then let it replace all. Do the same with the world model "w_eq_decoy" becomes "w_eq_dacoy" AND the thrown model "w_eq_decoy_thrown" to "w_eq_dacoy_thrown" then again replace all and you're done, do this for all the grenade types being:
- v_eq_decoy
- v_eq_flashbang
- v_eq_fraggrenade
- v_eq_smokegrenade
- v_eq_incendiarygrenade
- w_eq_decoy
- w_eq_flashbang
- w_eq_fraggrenade
- w_eq_smokegrenade
- w_eq_incendiarygrenade
- w_eq_decoy_thrown
- w_eq_flashbang_thrown
- w_eq_fraggrenade_thrown
- w_eq_smokegrenade_thrown
- w_eq_incendiarygrenade_thrown
Don't forget to save the VPK afterwards.
Now open the Pokeball Styles folder to choose which Pokeballs you actually want to use in-game.
We've provided a preview for every pokeball so give it a go and see which one you like the most, select max 5 in total!
After you've chosen 5 textures that you'd like to use copy the content INSIDE the folders (which are the VTF files) and go to:
"Steam\steamapps\common\Counter-Strike Global Offensive\csgo\materials\models\weapons\v_models\pokeball"
There you'll see 5 folders for the 5 different grenades included in this release. Now you'll have to paste the VTF files per selected pokeball INSIDE the respective grenade folders.
For example you want to have the Dusk Ball for the smoke grenade you'll go inside the folder of the Dusk Ball and will see 2 VTF files, these two files you copy and paste inside:
"Steam\steamapps\common\Counter-Strike Global Offensive\csgo\materials\models\weapons\v_models\pokeball_smokegrenade"
Make sure to press the overwrite to all or the textures will not be changed and the default texture will be used instead.
After you've overwritten the files the pokeball texture is installed and you're ready to install the 4 remaining grenades!
Side-note: There are 3 specific VMT files the first being for most pokeballs located in the PokeBall Clean folder, the second is the GS Ball which uses some custom gold shaders and the third is the Luxury ball who also makes is of adjusted shader settings.
Therefore if you want to test out but overwritten the VMT and want to revert back to a different pokeball then simply use the VMT located in the Pokeball Clean folder.
After you've installed all the files launch your game with console enabled and launch a map.
When the map is fully loaded write in the console the following command and wait a couple seconds:
snd_updateaudiocache
After the cache has been rebuild you'll hear the new wonderful sounds that suit the Pokeball ow so well!

After a very long time between the actual creation and release of the Pokeball model, but we finally managed to release it for what I was creating these pokeballs for!
So I hope you like this release and go catch frag them all!
Тэги: |